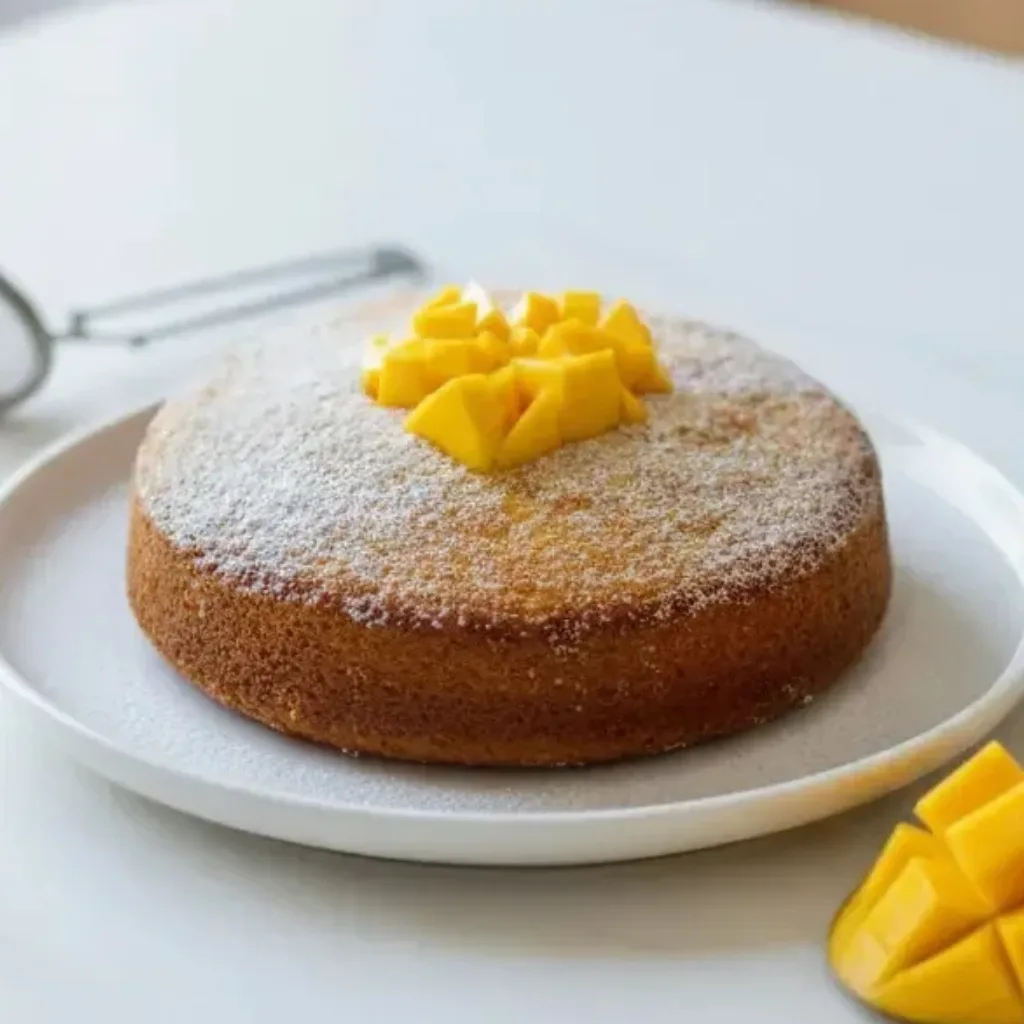
Indulgent, Creamy, and Oh-So-Good!
Get ready to indulge in the delightful world of Burnt Basque Cheesecake, but with a cozy twist—made right in a loaf pan! This recipe hugs you with creamy goodness and just the right amount of caramelized edges. Picture this: the tempting aroma wafts through the kitchen as Miso the cat keeps watch, and you whip up a dessert that’s perfect for gatherings or just a sweet treat after a long day. Simple ingredients and minimal fuss make it a win for anyone looking for comfort food. So, grab your loaf pan and let’s get baking—you won't want to miss this tasty treat!
Why Make This Recipe
Burnt Basque Cheesecake is all about the simplicity and flavor that demands to be savored. Inspired by recipes passed down from my grandma's kitchen, this dessert proves that comfort food doesn’t have to be complicated. The beautiful burnt top contrasts with the creamy center, creating that ultimate flavor profile everyone loves. It’s perfect for any occasion, whether it’s a family gathering, a cozy dinner, or even just a special treat for yourself. Plus, using a loaf pan saves time and hassle, so you can put your feet up and enjoy your creation sooner!
Time Breakdown
- Prep Time: 15 minutes
- Cook Time: 40–45 minutes
- Total Time: 4 hours 15 minutes (including cooling)
- Servings: 8
Ingredients
- 1 1/2 cups cream cheese, softened
- 1/2 cup granulated sugar
- 2 large eggs, room temperature
- 3/4 cup heavy cream
- 1/2 teaspoon vanilla extract
- 1/8 teaspoon salt
- 1 tablespoon all-purpose flour
Kitchen Tools You’ll Need
This recipe doesn’t require fancy gadgets, just a few reliable kitchen basics to keep everything simple and stress-free.
- Mixing bowl
- Electric mixer or whisk
- Measuring cups
- Measuring spoons
- Loaf pan
- Parchment paper
- Sifter (for the flour)
Instructions
- Preheat your oven to 400°F (200°C).
- Line a loaf pan with parchment paper, leaving an overhang for easy removal.
- In a mixing bowl, beat together the cream cheese and sugar until smooth.
- Incorporate the eggs one at a time, mixing well after each addition.
- Add heavy cream, vanilla extract, and salt; blend until smooth.
- Sift in flour and fold gently until just combined.
- Pour batter into the prepared loaf pan and tap it lightly to release air bubbles.
- Bake for 40–45 minutes until the top is golden brown and slightly jiggly in the center.
- Allow to cool at room temperature before refrigerating for at least four hours or overnight.
How to Serve Burnt Basque Cheesecake
Serving this Burnt Basque Cheesecake is just as delightful as making it! The beauty of this dessert lies in its rustic charm. Slice it into generous portions and let each piece speak for itself. You can serve it simply, topped with fresh berries or a drizzle of honey for a touch of sweetness. A dollop of whipped cream also adds an inviting flair. For a cozy gathering, place slices on pretty dessert plates and let family and friends admire their golden edges before they indulge.
How to Store Burnt Basque Cheesecake
Storing your Burnt Basque Cheesecake is as straightforward as making it! After allowing it to cool completely, cover the loaf pan tightly with plastic wrap or aluminum foil. It keeps well in the refrigerator for up to 5 days, retaining its delicious flavor and creamy texture. If you want to store it for an extended period, slice the cheesecake and wrap individual slices in plastic wrap, then place them in an airtight container or freezer-safe bag. It freezes well for up to 3 months. Just remember to let it thaw in the fridge before savoring those sweet bites!
Variation
Feel free to get creative with your Burnt Basque Cheesecake! For a twist, consider adding a citrus zing with the zest of a lemon or orange. You can also infuse the batter with a teaspoon of almond extract for a nutty flavor. If you love a hint of chocolate, folding in some mini chocolate chips will delight any chocolate lover. Whether you keep it classic or explore different flavors, each version of this cheesecake will bring warmth and joy to your table.
FAQs
What is a Burnt Basque Cheesecake?
Burnt Basque Cheesecake is a creamy, rich cheesecake known for its dark, caramelized top and soft interior. It has its roots in Spain and is typically baked at a high temperature for that signature burnt look.
Can I make this ahead of time?
Absolutely! This cheesecake actually benefits from chilling in the fridge for at least four hours or overnight, allowing the flavors to meld and the texture to perfect.
Does it really have to be jiggly in the center?
Yes! The slightly jiggly center is a hallmark of a successful Burnt Basque Cheesecake. It will set up nicely as it cools down in the fridge.
Can I use a different pan?
While a loaf pan gives it a nice shape, you can also use a round cake pan. Just be sure to adjust the baking time, as it may vary based on the pan size.
Conclusion
Burnt Basque Cheesecake in a loaf pan is a delightful dessert that brings comfort and joy with every bite. Its creamy center and burnt edges create a timeless flavor that connects back to home and family. Simple to prepare and beautiful to serve, this recipe is perfect for any occasion. So gather your ingredients and let this charming cheesecake take you on a sweet journey today! Enjoy each and every delicious bite!

Burnt Basque Cheesecake
Ingredients
Method
- Preheat your oven to 400°F (200°C).
- Line a loaf pan with parchment paper, leaving an overhang for easy removal.
- In a mixing bowl, beat together the cream cheese and sugar until smooth.
- Incorporate the eggs one at a time, mixing well after each addition.
- Add heavy cream, vanilla extract, and salt; blend until smooth.
- Sift in flour and fold gently until just combined.
- Pour batter into the prepared loaf pan and tap it lightly to release air bubbles.
- Bake for 40–45 minutes until the top is golden brown and slightly jiggly in the center.
- Allow to cool at room temperature before refrigerating for at least four hours or overnight.